
Before we can properly offer services on our VMs, we’ll need to make sure they are accessible over the Internet!
However, simply exposing the entire server to the Internet (via portforwarding or otherwise) is extremely dangerous, since it allows anyone from anywhere in the world to connect to your private services, like the Proxmox console. Even with proper security measures and strong passwords, it’s impossible to guarantee that malicious actors won’t be able to find an exploit and steal your private information!
As a solution, let’s be careful to separate network access to public services, which anyone can interact with, and private services, which only you and authorized users can access.
In this section, we’ll set up our private network.
Connecting to the Internet
I assume that if you’re reading this guide, you already have a home internet setup. Let’s dig in a bit to understand what’s actually going on behind the scenes!
Internet Service Providers (ISPs)
Unless you own an IP block (and if so, you probably already know everything in this guide anyways…) you likely pay an external provider like AT&T or Xfinity for access to the Internet. Your ISP is responsible for the physical infrastructure connecting you to to the public Internet.
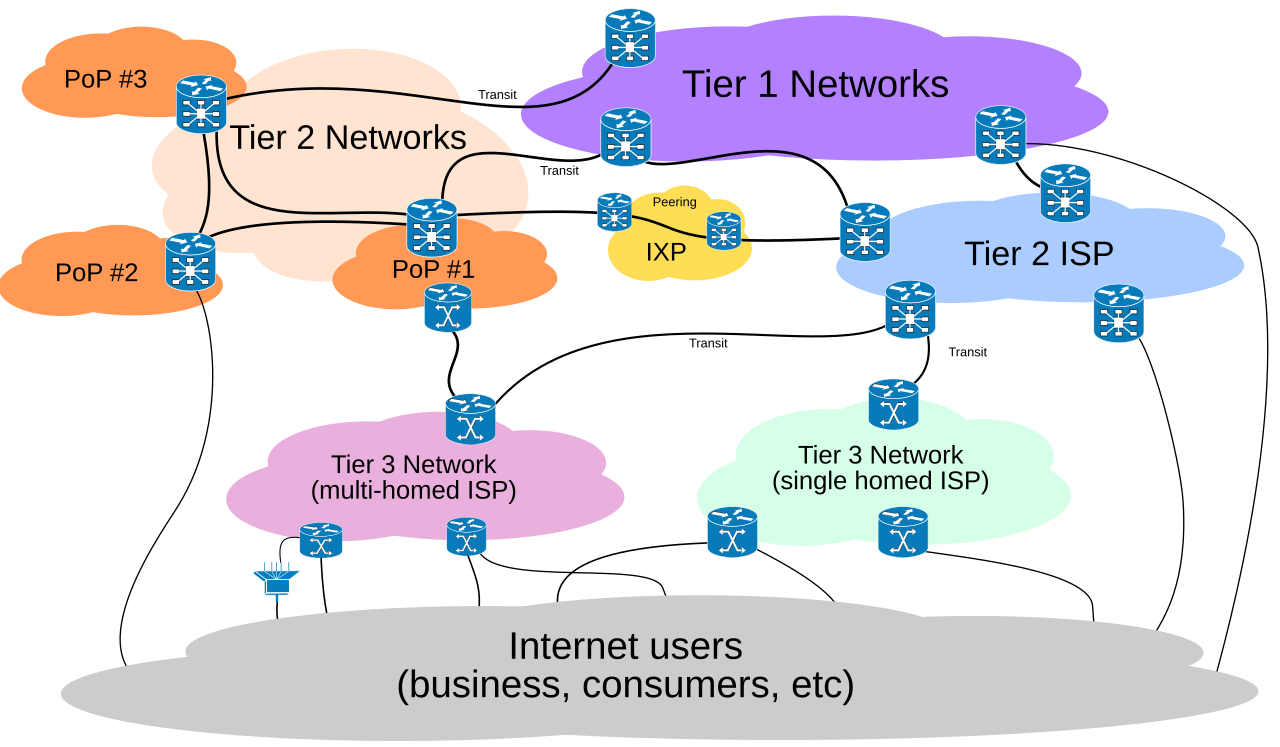 (source: Wikipedia)
Your ISP has peering connections with other higher-tier ISP’s around the world, so they broker cross-network communications on your behalf. All you see on your end is that you send them a request (like “connect me to google.com”), and they’ll figure out how to find Google’s servers for you. The rules are quite a bit more complicated than that (you can do research on BGP and Gao-Rexford Rules if you’re curious), so it’s nice that you don’t have to think about it that hard.
Your Router
When you first set up your internet, most modern ISP’s will assign a technician to activate your connection for you. Sometimes, they’ll also come in-person to do some wiring work. The end result is that you’ll have a live Ethernet connection to the outside world somewhere in your house.
You’ll then commonly plug a router into that Ethernet port, which acts as a small computer that creates a private network for you. The router often also hosts a WiFi network, and has a built-in switch, to enable many devices to connect all at once. They come in all shapes and sizes, most frequently in some form like the one below:
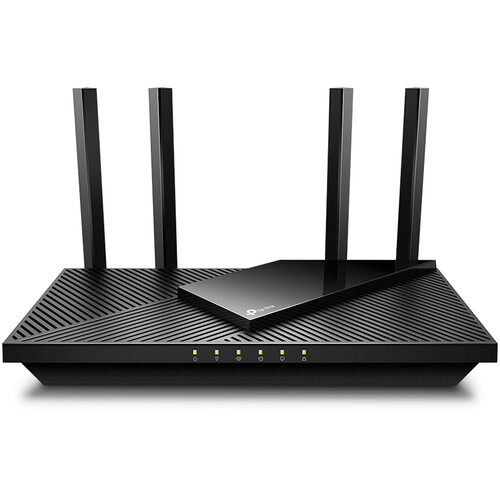
Notably, there are now two parallel “IP spaces” that your devices address to!
On your personal computer, you can see your private network by typing in the command ifconfig | grep -w inet into your terminal (or, ipconfig on Windows). You should see a localhost like 127.0.0.1, followed by your private network IP, usually starting with 192.168, 10.0, or 100..

Then, if you go to whatismyipaddress.com or a similar website, you can see your public IP address. Notably, your public IP address should be the same across different devices on your same network.
Networking Switches
If you run out of ports on your router to plug things into, you’ll probably want to buy a switch. They look something like this:
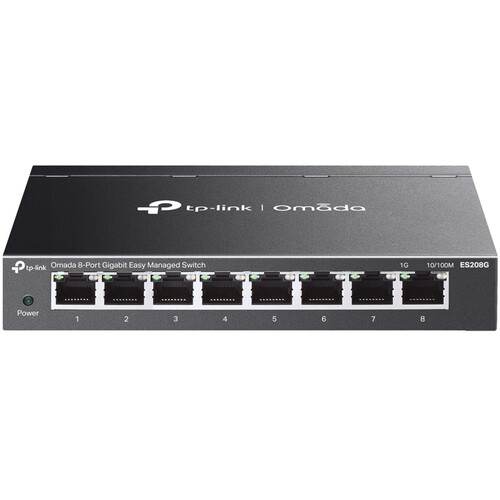
Typically, switches will allow you to plug in arbitrary Ethernet connections between your various devices. As long as any one of the connections is attached to your main router/ISP, the rest of the attached devices will also have network access.
You’ll see the prefix “managed” or “unmanaged” thrown around online. An unmanaged switch isn’t configurable (and needs a separate computer/router), whereas a managed switch provides additional options for traffic routing and address assignment. You’ll likely be fine with an unmanaged switch for nearly all homelabbing applications, but given that a managed switch isn’t that much more expensive, I’d recommend picking one up to tinker with for fun.
Mesh Networking
If you happen to have a large area you need your network to cover (or just want your wifi connection to be extremely good), you can consider setting up a mesh network, which allows you to attach multiple routers and access points to the same private network.
If you’re looking for a starting point, many other homelabbers like using Ubiquiti for their mesh networking.
Introducing Tailscale
Without any further configuration, everything is private by default: in order to access the Proxmox web console, you’ll need to be on the same network as your server at all times. It’s also hard to access VMs from other devices, since they’re networked internally within Proxmox itself.
Let’s first build up our private access, such that you and others can access server resources even when you’re not physically next to the server.
As I explained in Part 1, there are many alternatives to Tailscale that achieve similar things through slightly different protocols, like ZeroTier or Teleport. You are welcome to choose what works best for your use case, but for now I’ll use Tailscale as an example of how a private networking setup might look like.
How does Tailscale actually work?
Tailscale essentially creates a virtual, software-defined network that you can add devices to. Regardless of what physical networks or locations those devices are in, they’ll all be connected to the same Tailscale network, allowing them to access one another as if they were in a local access network (LAN) setup.
The technical details of how this is possible without portforwarding is beyond the scope of this guide, but you’re welcome to read the documentation and explore UDP hole punching to learn more and confirm that it’s secure for your use cases.
Tailscale Setup
First, you’ll need a Tailscale account, which you can make on the website here.
Once you have an account, you can create a network. The setup dialogues should walk you through this process, then suggest you to add your first device.
Joining the Tailscale Network from an external device
As a warm-up to VM configuration, let’s see how the joining process looks like using an external computer or phone.
First, download the correct Tailscale distribution for your device here. Then, you should be able to authenticate as yourself via a browser prompt and select a hostname to identify your device.
Your device will automatically be registered, connected to the network, and assigned an IP address. For example, on my Mac, it looks something like this:
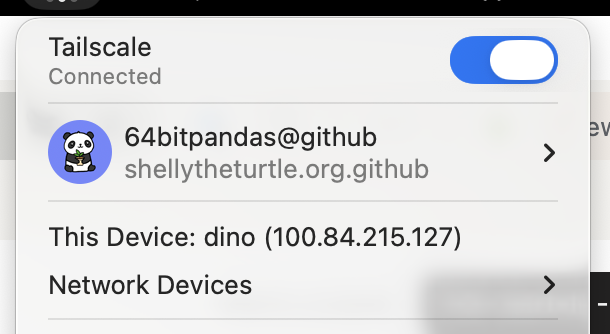
Now, when you type in your ifconfig | grep -w inet command again, you should see three lines instead of two! The last one should be your Tailscale IP.

Joining the Tailscale Network from your VM
Now, let’s do the same thing from with your VM!
The process is pretty similar, only we don’t have a GUI anymore. Instead, you can do the following (taken from the official Linux install guide):
- Open the Proxmox web console, and navigate to the live console instance for your VM.
- Run the command
curl -fsSL https://tailscale.com/install.sh | shto install the Tailscale command line interface. - Run the command
sudo tailscale up, and follow the instructions to authenticate. - The terminal should now signal that the join was successful. You can verify this with
ifconfig, or withtailscale status. - You can also verify that Tailscale is working as intended by pinging your VM’s hostname from your laptop (since they’re now both on the same Tailscale network)! For example, I can type in
ping dinofrom my VM if my laptop’s host is nameddino.
Joining the Tailscale Network from Proxmox
Doing this is exactly the same process as joining Tailscale from your VM, except now you should go through the steps in the Proxmox shell rather than your VM’s console. After you assign your Proxmox instance to a domain name, you should now be able to access your Proxmox console using https://node.domain.tld:8006 in your web browser. For example, my server is named turtle and my domain is bencuan.me, so I could type https://turtle.bencuan.me:8006.
Local Resolution
If you didn’t acquire a public domain, you’ll still have to use your IP addresses to access your VM’s. We’ll see how we can set up a custom DNS server to get around this in a future step.
SSH
Depending on your distribution, SSH may or may not be enabled by default in your VM. If it is, you should now be able to run ssh vmname.domain.tld (replacing with your actual VM name and domain, of course) and connect to your VM from your other devices.
If this is not the case, you may need to install it and/or enable it manually. This is how to do so for Ubuntu/Debian-based systems (look up how to do it on your OS of choice if this does not apply):
- Run
sudo apt install ssh - Run
sudo systemctl enable ssh.service --now
To save time for future logins, you can set up public key authentication so that you don’t have to type in your password every time you SSH into your VM. (This is only available for Linux-based VM’s.)
- On your personal device, run
ssh-keygenif you haven’t done so before. - Run
ssh-copy-id <username@vm.domain.tld>, replacing the part in brackets with your actual VM user and address. - Type in your VM’s user password once.
Remote Desktop
If you’re using Windows or another OS with a graphical interface, you can access the GUI through Proxmox’s default console view. However, you might have noticed that this console can be extremely laggy or unresponsive at times.
If you will need to access your VM graphically for things like gaming or video editing, you should set up some sort of remote desktop service.
- For Windows and Mac VM’s, I highly recommend Parsec- it’s given the best latency/responsiveness out of all the remote desktop applications I’ve tried so far.
- For easiest access to Windows VM’s, you can alternatively use the built-in Windows Remote Desktop. A client is automatically installed on all Windows devices, so you don’t need to install any additional software to access it. (Note that a Windows Pro VM is required.)
- For Linux VM’s, you can use the VNC protocol. There are many clients for this: see here for a guide on how to configure VNC.
Summary
If you’ve gotten this far, you should now be able to access your VM from anywhere, but only on your personal devices! This will allow you to access server resources such as the Proxmox console even if you’re not connected to the same network as your server.
Next, we’ll take advantage of our private Tailscale network to set up a reverse proxy to access internal services in a convenient manner.